After the OVLR Birthday Party of 2003 I happened to follow fellow OVLR member Dixon Kenner home to spend a couple of days with him exploring the city of Ottawa. On the way his Land Rover, known as the Big Green Beastie, was not running well and managed to overheat on the journey. When we reached the Kenner abode I took the time to try to set the ignition timing on his Land Rover right. Unfortunately when set correctly it would not run. But when set at about 50+ degrees before TDC it would, but not well. My final determination was that the crank and cam were out of time with each other and would have to be set right.
A year had passed and the 2004 Birthday Party arrived and the problem seemed worse. It started with a clatter and on the way back to his place again it slowed to a crawl on the slightest grade (and that part of Canada is pretty darned flat). Since I had time on my hands I offered to trek up to Canada a few weeks later for a few days to set the camshaft timing right. It would have been straight forward enough, but an initial compression check revealed the pressures of 130, 60, 60, 130. Obviously there was a blown head gasket between cylinders 2 and 3.
After a day of pressure washing years of mud and grime and unmentionable nasty bits in the engine bay I began the disassembly and when I got down to the timing components and the cam was indeed out of time by one tooth. I set that right, giving it a new timing chain, vibration pad, idler gear, and piston and ratchet assembly. I was actually quite surprised when Dixon ordered the full timing set instead of just the chain and gasket.
Once the timing cover was cleaned up, the mud shield rivets were drilled out (but not before several calls to Dixon at work to try to source a drill. The corded drill was never found. The Riobi had no battery, and the rechargable Chinese drill's battery had just enough grunt to drill most of the heads off. The remainder were punched through), and the holes tapped for 8-32 screws to allow the mudshield to be easily removed in future to access the front crankshaft seal. This was also replaced at the same time. The cover went back on with new gaskets and Permatex red hi temp gasket sealer. I can't say the engine won't leak. But it won't leak there.
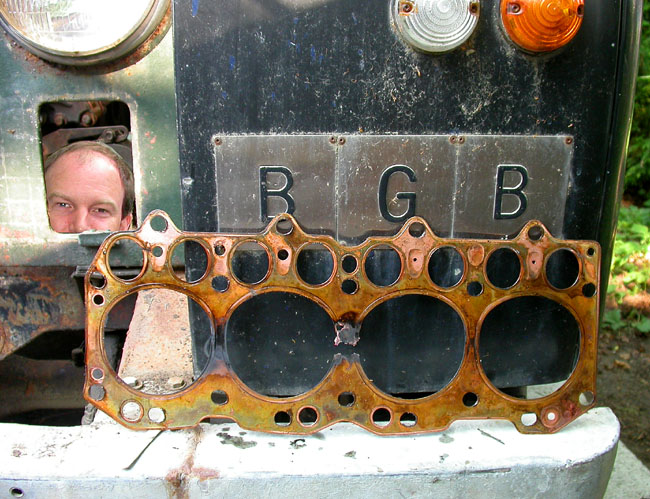
Once that was set off came the head, and the blown head gasket was readily apparent. To Dixon's astonishment I used rolled up paper towels to wick all the oil and coolant out of the head bolt holes. He exclaimed "I NEVER do that". . To skip this step would have meant hydraulic lock when tightening the head bolts and possibly a cracked block or inaccurate torqued bolts resulting in a blown head gasket...
He was even more surprised when I used a tap with grease in the flutes to catch the grit to clean out all the head bolt holes. To skip this step might have resulted in inaccurate torqued bolts resulting in a blown head gasket...
The head was cleaned and the valve train stripped. The #1 exhaust valve was dry indicating no oil was getting to the spray hole in the top of that rocker arm, so the rocker assembly was stripped and cleaned and the shaft was obviously toast. Dixon fortunately had a new one on hand and the assembly went back together. This also saw the christening of Dixon's little kerosene parts cleaner with electric pump. Although having sat in the garage of Kirkwood manor for many years it was marred only with dust.
The head went back on with a new gasket and was torqued in 3 stages and the valve assembly reinstalled and adjusted. Next the pan was removed and cleaned of the dark unidentifiable goo in the bottom and put on with a new gasket and gasket sealer. The sump plug had a plastic (cracked) washer which was replaced too. A new thermostat was sourced via Canadian Tire and installed (it took some prodding to get Dixon to spring for that item). A radiator cap was ordered as the old one was over 40 years old (Dixon kept asking what was wrong with it). A plug in the side of the block was replaced with a proper drain tap. The rusted thermostat bolts were replaced with new and the bolt holes cleaned with a tap (I was afraid I'd snap the old ones on the way out. They were binding quite badly and I had to carefully work them back and forth to free them up without them snapping). The assortment of 1/4' studs and bolts holding the water pump on were swapped with new bolts so that the water pump could be removed in the future without unbolting the thermostat housing. The rusty 1/4 inch stud that was allowing the rear of the generator to wobble about was replaced with a proper 5/16 bolt, and all the other mounting bolts were replaced. The timing pointer was shimmed and spaced out so that it was in the proper position in relation to the crank pulley to make timing the ignition less of a guess. The cracked battery cable clamps were replaced with new. Fresh oil went in the sump and new oil filter, and the cooling system got fresh coolant and distilled water.
I was a bit short on cash to buy supplies at Canadian Tire so I gathered up the ones and twos from a pail of coins on Dixon's kitchen counter... which I found later were destined for a future coin collection...
I also found that $50 in Canadian ones and twos in your pockets tends to make your pants fall down while walking to Canadian Tire.
I attempted to time the engine statically using a dwell meter as I would on a points system or with a Crane ignition system. Unfortunately this had a Pertronix system on a Lucas 25D4 distributor (Dixon asked me to specifically identify this distributor in this passage. God knows why) and apparently I fried the ignition module in the process. Fortunately Alistair Sinclair lent his 45D4 distributor (Dixon asked that this distributor be identified too) with points and condenser off of his SIII to the effort and after some head scratching and sparks and smoke (which fortunately Dixon didn't see as it happened while he was watering the garden) and wild ass guesses I was able to the it wired correctly for this positive earth system.
The time had arrived and Dixon cranked the engine til there was oil pressure. I installed the plugs and wires and Dixon hit it again and the engine was turning but not doing much. I reversed the wires 180 and tried it again. Still nothing, and Dixon noticed there seemed to be no fuel reaching the carb. Dixon primed it by hand and started again. It immediately fired through the carb and we stopped. I reversed the leads 180 again and when Dixon hit the starter it fired right up. As soon as it began to warm up coolant began gushing out the overflow tube, indicating the cap was indeed not doing its job. At that point it was only a little adjusting of the mixture and speed, then lubricating the throttle linkage to get it running just right. Possibly for the first time since the mid 1980s. I also noticed that the ampmeter needle was no longer jumping about as it ran. Probably due to replacing the cracked battery cable clamps.
As you will see from the photos, Dixon was overjoyed with the results.