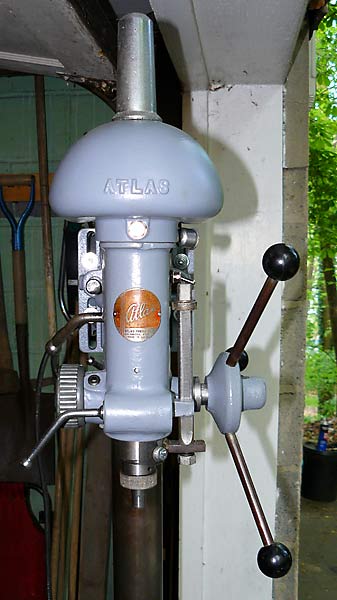
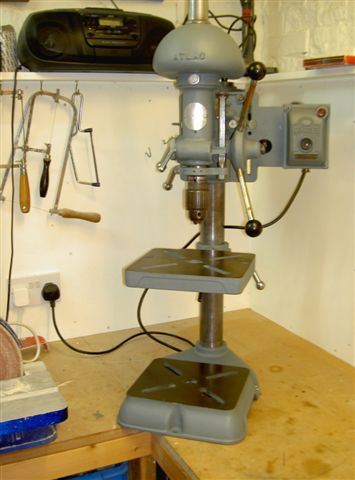
Atlas Model 74 Drill Press
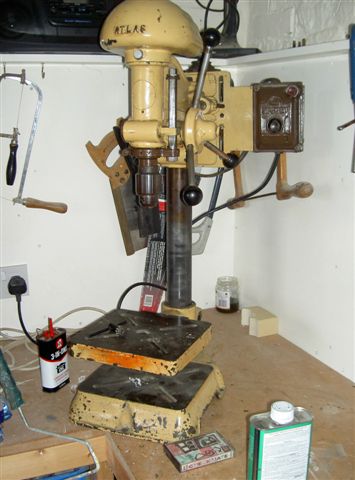
This is an Atlas Press Co. Drill Press given me by a friend a while back. I knew one of the bearings was bad and upon disassembly realized they were all spun. My first task was to source the bearings, as if I couldn't the machine was scrap. The two bearings for the spindle pulley assembly were readily available in a web search. The other two bearings in the quill assembly (the rack that allows the drill shaft to go up and down) did not come up in a web search. My local bearing supplier was able to source an alternative in the same dimensions. The bearing part numbers are as follows:
Quill Bearings(2)
Original - SKF 466041
Replacement -
Spindle Pulley Assembly Large Bearing
Original - SKF 6205 2RS
Replacement - Nachi 6205-2NSE
Spindle Pulley Assembly Smaller Bearing
Original - SKF 6204 2RS
Replacement - Nachi 6204-2NSE
An exploded drawing of an Atlas Press Co. Model 73 which is virtually identical to the Model 74 can be found on the Old Wood Working Machines newsgroup website. I found it invaluable during my research & reassembly. They are a good source of advice for drill presses and other large power tools.
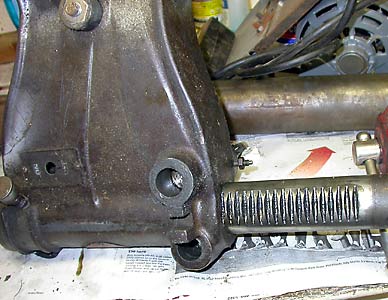
Once I had the bearings in hand I stripped the drill press down to its basic components. All parts were degreased and wire brushed with some lightly sand blasted. The rust on the base (which is well over 60lbs) was quite thick and required chipping off with a hammer and punch. The vertical post was wet sanded with fine abrasive paper 4 times before the paper came up clean. Parts to be painted were wiped down with mineral spirits before painting. I had my local paint store match up the paint to the color of the press with an oil based self priming low gloss paint by Benjamin Moore. It got two coats a day apart and it seems to be very durable as it is very hard to get off areas that needed to be paint free upon reassembly.
The spindle feed assembly spring locking pawl was snapped off when I got the drill press. My good friend Alan Richer machined a new pawl for me that turned out great. Before that I temporarily I used a 1/2" fine set screw, ground down the end to a shouldered tip to fit within the gear teeth of the spring housing assembly to lock it in place and allow the drill quill and shaft assembly to retract upwards on their own. I've added a gallery showing the fine work Alan did.
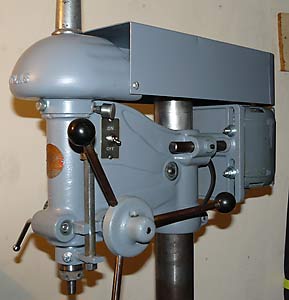
The switch was a crude light switch screwed to a rusty piece of sheet metal. I sourced a new toggle switch from a local electronics store and rewired the head, discarding the makeshift switch assembly.
The last item was to fabricate a bracket to secure the back end of the belt guard to the motor mounting plate. I used heavy galvanized steel which I had on hand and cut it to shape, then ground down the rough edges and painted them.
It took a bit of trial and error to find a position where the spindle pulley would spin true as it had spun on its spindle. I had cleaned up the surfaces as best I could but it still took a bit of experimenting to stop the pulley from wobbling. I'm so pleased as it starts and runs so smoothly and the quill operates very smoothly also.
I recently sourced a #33 Jacobs Tapered chuck and need to get a few more photos of it up here.
If you've got a Jacobs tapered fit chuck that you want to remove from the spindle, here's an excellent page from the Jacobs website that gives Jacobs Drill Chuck removal instructions and photos. |